Home > NEWS > Optical Component Production Process
After inspection, blanks for the optics are sliced, typically within a few millimeters of final dimensions. This operation can be performed on an NC sawing machine or using a hand saw equipped with diamond impregnated disk tools.
In this process a circular disc is obtained from a glass blank. Alternatively, other shapes can also be generated by slicing or by means of an edging machine.
In this process, optics are ground with diamond impregnated tools. This process quickly brings the glass disk in to near final specific cation of thickness, radius of curvature, etc. leaving allowances for further process of polishing and centering. This process leaves very fine tool marks and damaged layer of glass on the surface of optics. The process is performed on a curve generator machine or CNC optical grinder. Radius of curvature within 0.5 per cent of the specific ed value is maintained in this process.
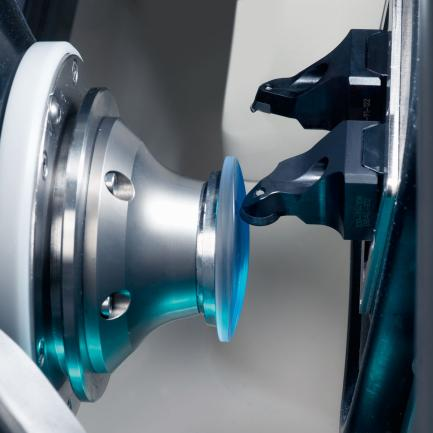
This process is used to remove any tool marks generated on the optics and to remove the sub surface damage caused during the generating process. In this process the optics is rubbed against a matching cast iron tools with aqueous slurry of optical emery. The particles of emery causes tiny fractures in the glass, which results in material removal as the fractures intersect. The smoothing is done by successively reducing the particle size of the optical emery. An inventory of more than 500 hundred tools is maintained at IRDE for this process.
In this step, optical surfaces are polished to provide specular surface accurate to within 0.1 µm to the designed surface. With repeated polishing cycles guided by measurement feedback, surfaces can be attained with 0.005 µm accuracy. For fl at and spherical surfaces, conventional pitch polishing is used. The chemo-mechanical nature of pitch polishing reduces the micro roughness of glass and very smooth surface is obtained. Pitch polishing is a chemo-mechanical process where chemical and mechanical interaction takes place between pitch, polishing compound and optical material. Due to wide difference in the properties of optical materials different polishing compounds are used according to the material. Similarly the composition of pitch is changed to meet the lap compliance. IRDE has developed polishing recipes for most of the optical glasses, fused silica, quartz, Zerodur, stainless steel and IR materials like silicon, germanium, zinc selenide, zinc sulphide.
The surface figure and surface finish are the two most challenging specific cations to meet in the fabrication process. A number of testing methods have been developed for measurement of these two parameters. At IRDE, the surface figure is maintained at workshop level using Newton interferometer and test plates while final testing is done with laser interferometer. The surface roughness is measured using white light interferometer. Using computer controlled phase-shifting interferometry, surface figures can be measured up to λ/10 (λ=633nm) and surface finish up to 0.5nm.
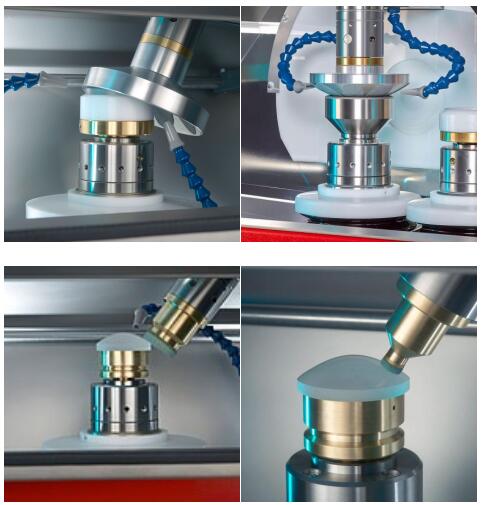
The centering and edging process is used to align the optical axis of the lens with its mechanical axis. The optic is aligned on a spindle and the diameter is edged to the final specific cation. Both optical and mechanical centering options are available at IRDE. Typical centering accuracy of 30̎ sec is achieved. With the help of CNC edging machine, circular, rectangular and even free form geometries can be edged.
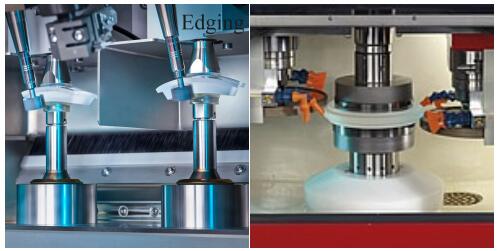
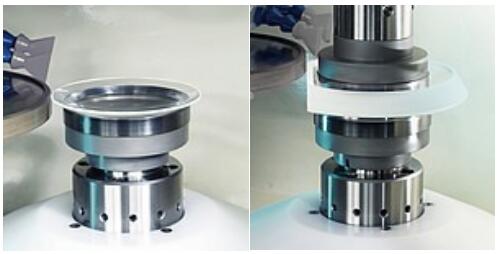
Cementing is used to form doublet lenses to control chromatic aberration in optical system. Many times prisms need to be cemented to form complex prisms. UV curable cement is mostly used for cementing of lenses.
Using PC controlled cementing station an insitu measurement of centering error is made after which both the lenses are aligned to meet centering requirement and then cemented with UV curable cement.







The 20th anniversary of Oplens
Dec. 29, 2025SPIE Photonics West Exhibition: 20 – 22 January 2026
Dec. 19, 2025